Uw zoekopdracht op '' returned no results.
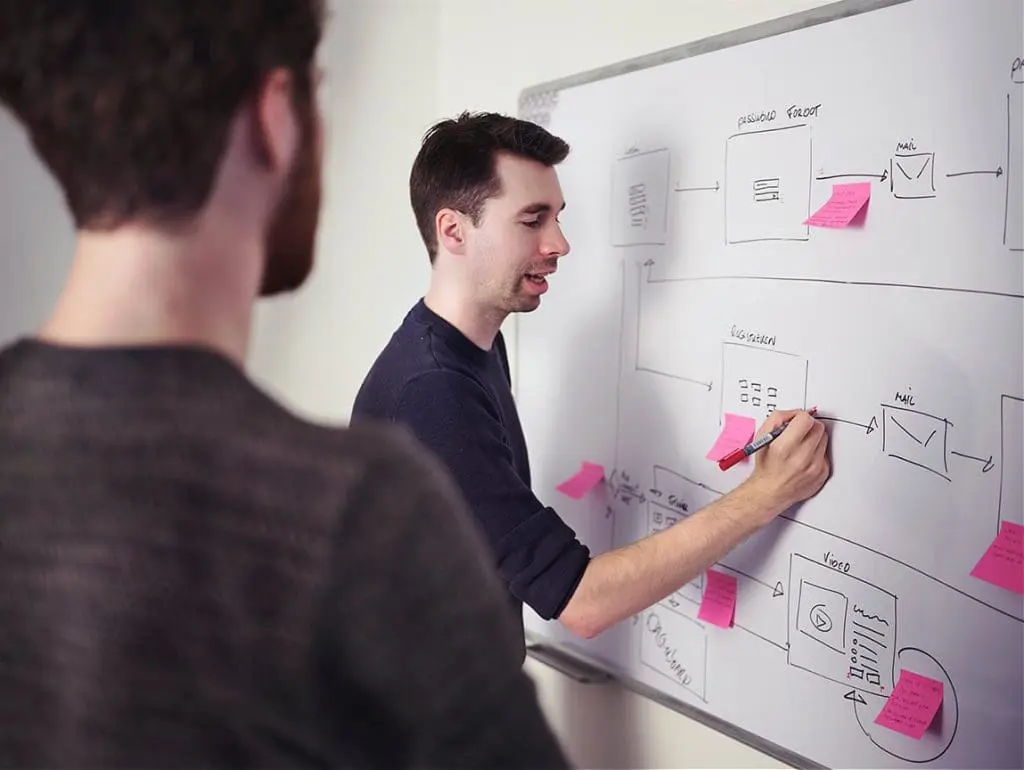
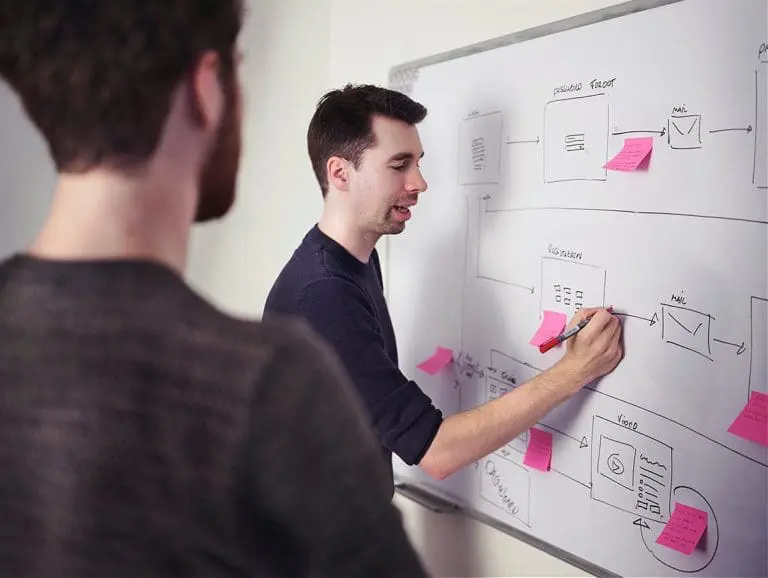
Denk, creëer en optimaliseer. Dat staat centraal in onze werkwijze. Onze projecten beginnen altijd met een heldere strategie. Vervolgens testen we oplossingen en ontwerpen we een uitstraling die hierbij past.
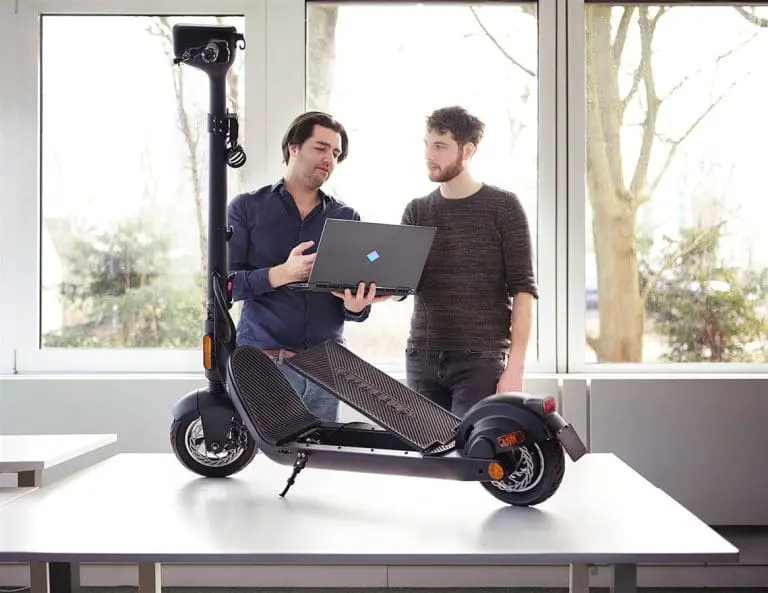
Hoe complexer een probleem, hoe enthousiaster ons team. We ontwikkelen maatwerk functionaliteiten en programmeren en optimaliseren digitale diensten.
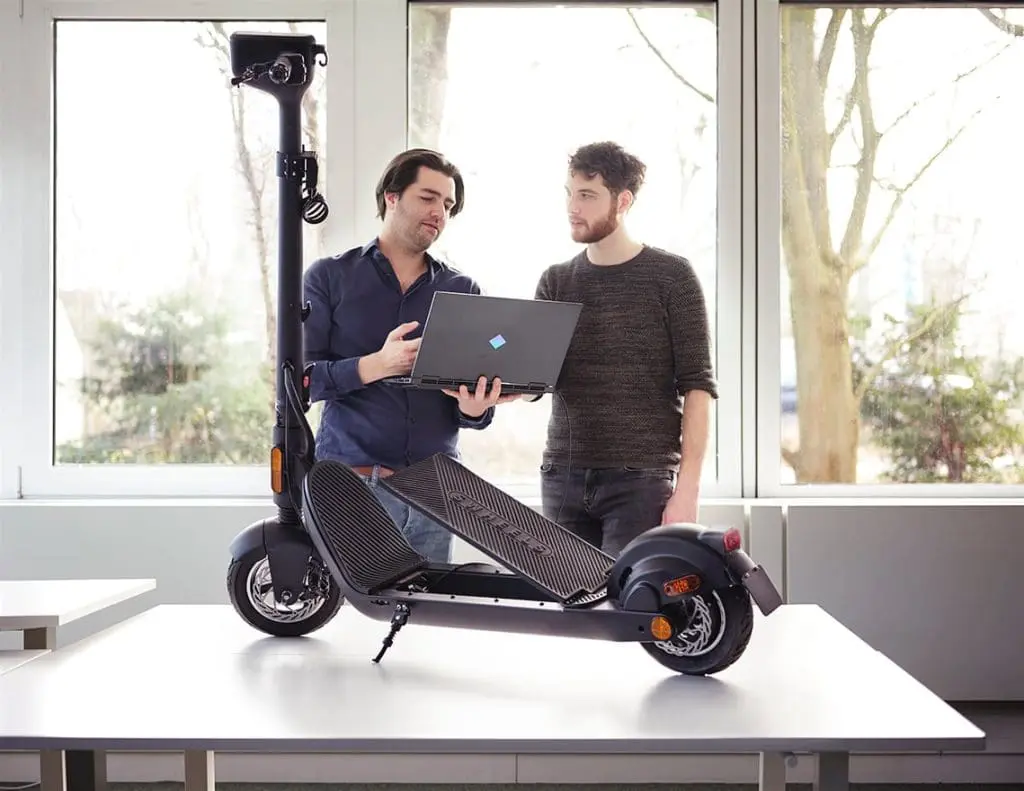
Samen met onze klanten tillen we digitale diensten naar een hoger niveau. We bouwen toekomstbestendige websites, platforms en apps die bijdragen aan een betere digitale ervaring.
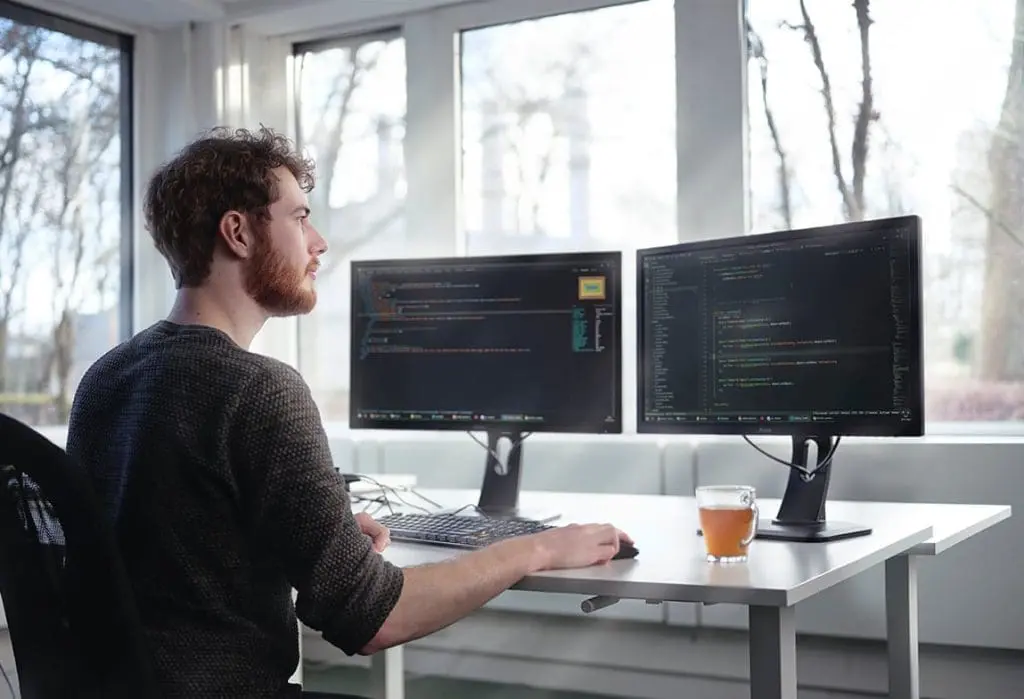
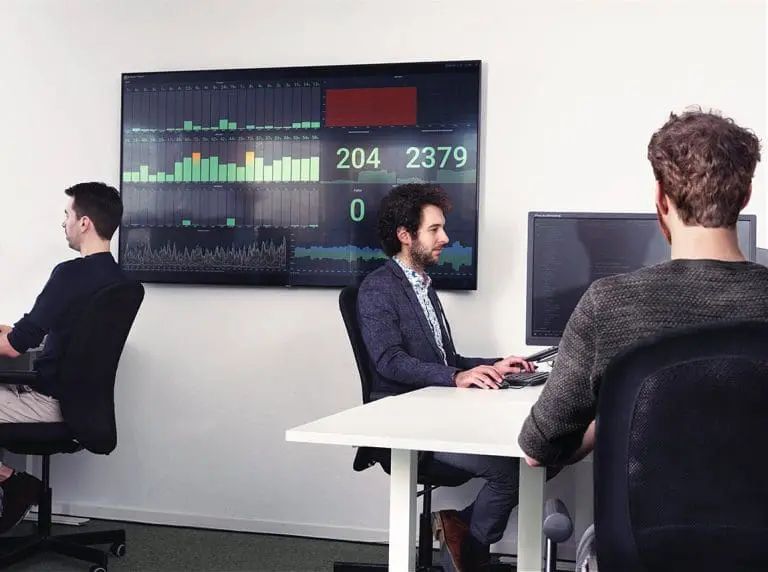
Door het proactief onderhouden, beheren en testen van software, zorgen we voor veilige, snelle en toegankelijke websites.
Michael
New business
Robert
Operations
Niels
Development
Mark
Dennis
Lex
Kamiel